Starting Carp Fishing: How to Set Up a Carp Rod - A Beginner's Guide
Hello fellow anglers! If you're just getting into carp fishing, setting up a carp rod can seem a bit daunting. In this guide, we'll focus on the simplest way to get you fishing quickly and easily, so you can get out there and start catching those carp.
Preparing Your Rod
- Assembling the Rod: First, remove the tip protectors from your carp rod. When you put it together, make sure to align the rod rings (eyes). Look down the rod to ensure they are all in a straight line. This is important for accurate casting; if they are crooked, the line won't pass through them smoothly.
- Attaching the Reel: Unscrew the reel seat handle, place your reel, and tighten it down. The reel should be securely locked in place.
Choosing the Right Rod and Reel
For beginners, a 10-foot (3-metre) carp rod is ideal, especially for smaller waters. 12-foot rods (3.6 metres) are great for larger lakes where long casts are needed, but they're not essential when you're starting out.
Your reel should be spooled with 12lb monofilament line. It's a good all-around line for most situations. If you're fishing in areas with bigger fish or lots of snags, you might want to go heavier with 15lb or 20lb line.
Setting Up Your Rig
- Threading the Line: Open the bail arm on your reel, remove the line from the clip, and start threading it through the rod rings. Be careful not to miss any rings or wrap the line around the rod. Close the bail arm once the line is through.
- Using Pre-Made Kits: For beginners, using a pre-made kit is a great option, as it includes all the necessary components for your rig:
- Rig tubing: Helps reduce tangles.
- Tail rubbers: Secure components.
- Lead clips: Allow quick changes of lead size.
- Swivels: Provide flexibility in the rig.
- Attaching the Rig Tubing: Cut a length of rig tubing that's slightly longer than your rig – about a foot will do. Sharpen the end of your line with scissors to make it easier to thread through the tubing.
- Adding the Tail Rubber and Lead Clip: Thread the tail rubber onto the line, followed by the lead clip.
- Tying on the Swivel: Tie a swivel to the end of the line using a reliable knot, such as a blood knot. Make sure to wet the knot before pulling it tight. Trim the excess tag end for a tidy finish.
- Adding the Lead: Attach your chosen lead (for example, a 1.5oz lead for short to medium casts) to the lead clip. Moisten the lead clip slightly before pushing the tail rubber over the edge to secure it. Remember that by pushing the tail rubber on lightly the lead will come off easier in case of a snag, and by pushing it on hard, it will take more force for it to detach. This is important to keep a fish safe, in case of snagging.
- Finished Lead Setup: The tubing will sit on the bottom, away from the fish, and help prevent spooking.
Using Ready-Tied Rigs
For beginners, using ready-tied rigs is a great idea. There's no shame in using pre-tied rigs – they're reliable and convenient. A size 6 barbless hook is a common and versatile choice.
Mounting Your Bait
- Choosing Your Bait: Use a boilie and a piece of artificial sweetcorn.
- Using a Baiting Needle: Thread your bait onto the baiting needle, then slide it onto the hair rig loop.
- Using a Bait Stop: Insert a bait stop into the loop of the hair rig to secure your bait.
Connecting Your Rig to the Main Line
Attach the loop of your rig to the swivel on the lead clip. Slide the anti-tangle sleeve down over the connection.
Using PVA Bags
- Fill the PVA Bag: Add pellets or crushed boilies into a PVA bag.
- Tie the Bag: Tie the PVA bag using a couple of overhand knots.
- Attach the Bag: Hook the bag onto your rig by piercing it with the hook a few times. The PVA will dissolve in the water, leaving a patch of bait around your hook.
Casting Out
- Trapping the Line: Trap the line under your finger.
- Opening the Bail Arm: Open the bail arm on your reel.
- Aiming: Aim the rod in the direction you want to cast.
- Casting: Swing the rod in a smooth motion.
- Controlling the Line: Touch your finger on the spool just before the bait hits the water. This will help you avoid tangles.
- Closing the Bail Arm: Close the bail arm.
Sinking Your Line
Place the rod tip just under the surface of the water, then pull on the line gently until it sinks. This will prevent the line from floating on the surface.
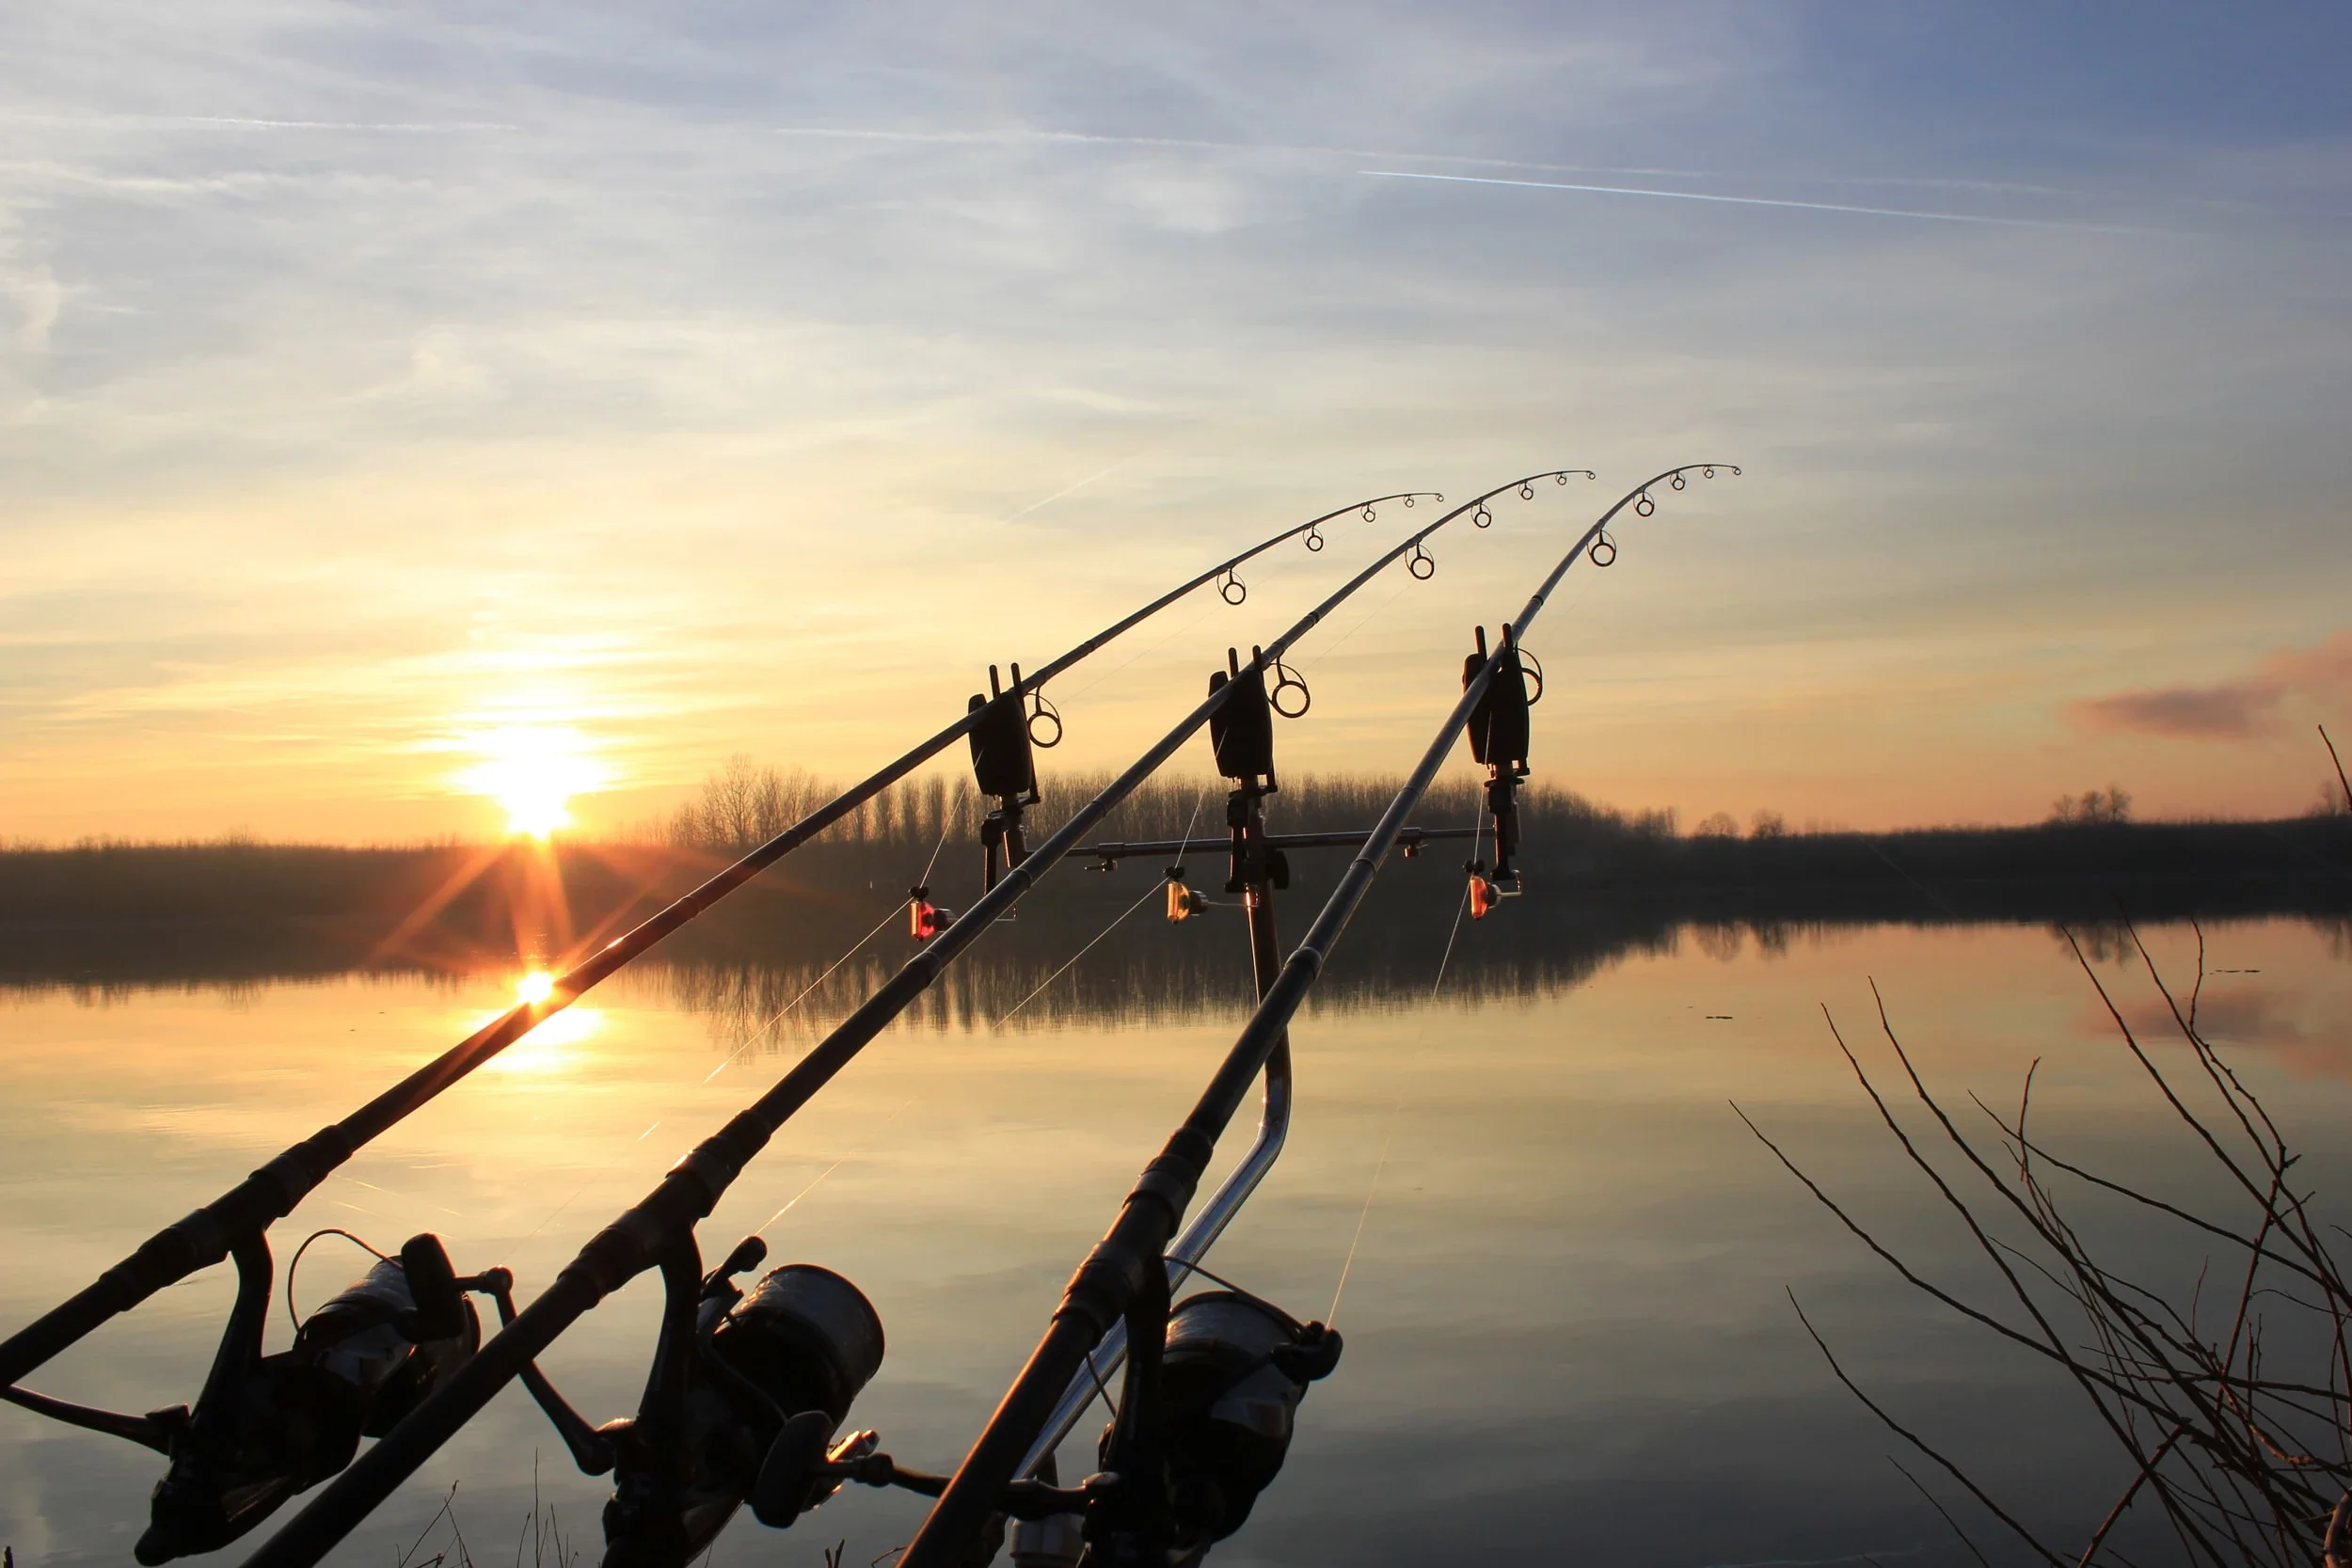
Setting Up Your Rod on a Rod Rest
Place your rod on your rod rest, making sure the back of the rod is secure on a bank stick. Position the rod eye behind the bite alarm on the front bank stick.
Setting Your Bite Alarm
- Loosening the Drag: Slightly loosen the drag on your reel.
- Engaging Baitrunner: If you have a baitrunner reel, engage the baitrunner feature.
- Attaching the Bobbin: Attach the bobbin to the line.
- Turning on the Bite Alarm: Turn on your bite alarm.
Conclusion
You're now ready to wait for a take! Hopefully, this guide has helped you to set up your carp rod. Don't forget to check out our other tutorials for more helpful fishing tips. See you on the bank!
Tips
- Start with simple and reliable methods.
- Don't hesitate to use pre-made rig components.
- Always follow the rules of your chosen fishery.
- Be patient and enjoy the process.
